


Anyway, a colleague's birthday offered my itchy fingers a perfect excuse to dive into my craft supplies once more. That, plus the fact that I didn't manage to buy anything and his birthday was the very next day.
All out of inspiration, I finally came up with Nothing.
A Jar of Nothing, that is. Came across the idea sometime ago, and found it kinda cute.
I started this project at midnight.

Grab a little plain jar.

Prepare tags and embellishments.
(Make personalised ones from shrink plastic.)

Put it all together.

Wrap it up as elegantly as possible to disguise the Nothingness.
The tag reads:
When people ask you what you wanted for your Birthday, do you ever remember
saying "Nothing"? Well, this time I listened, and made this perfect gift for
you.
Use this idea at your own risk. Reactions and consequences may vary from individual recipients. Mine loved it. Phew!
In the midst of job-hunting and slaving, I took a lil time (cumulatively approx. 8 hours) to make these papercraft Russian Dolls.
 If, like me, you haven't been to Russia or own some authentic wooden ones, you can, like me, make yours from paper.
Download pattern
Download instructions
Just so you know that I'm still alive and kicking, I'm gonna write on some older mini projects that I kept putting off posting about... and by older, I mean more than 2 weeks ago.

Wooden Magnets
The reason why I postponed this is because it's so simple that I'm almost ashamed to call it a craft project. I mean, tell me, how crafty is it to print and cut out nice patterns, paste them onto round wooden blocks, varnish it and stick a magnet behind? Not very.
I'll do better next time around, promise..!
That said, I am all for the concept of beauty in simplicity, and adore these cheery things. No more boring, tacky plastic magnets!
Needed a quick craft fix earlier, so I made this needle matchbox shown in Cut Out + Keep, with some spur-of-the-moment modifications.
Follow all instructions shown, but before gluing the back of the styrofoam to the card, fasten a brad through it without piercing the back cover.
Cut the front flap by about half it's height, tape a loop of ribbon or string into place, and that's it. Now you just need to pop some spare needles in and there you have a handy, pretty pocket needle matchbook!
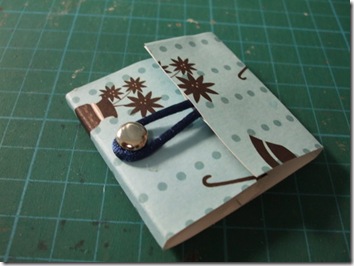

I don't really need this since I only sew at home, but it was still so fun to make!
I've gone soft and picked up sewing that extended beyond stitching my umbrella spokes back into place.
From this:
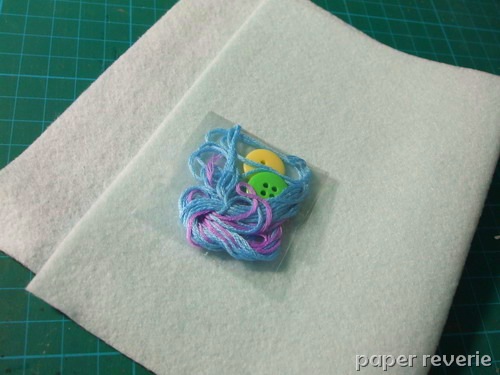
To this:
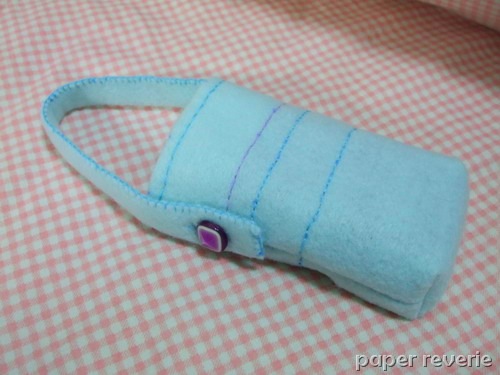
All handstitched from scratch, which was quite an achievement for someone with my level of (im)patience. As you can see, I decided to use a button from my own collection instead. Love Purple.
I must admit, I actually enjoyed it thoroughly! It was just a small, novice project, but I needed the practice before going on to bigger things.
What I've learned from this:
1) Blanket-stitch (learned it in school about 8 years ago, and completely forgotten since then)
2) Boxing corners
More crafts to come, since I hauled back heaps of supplies yesterday, from fabric to metal to wood to paper. Talk about mixed media!
No I haven't been slacking or getting lazy. In fact, I've been crafting every night from dinner till bedtime because the possibilities are endless and I'm getting inspiration from all over.
One problem though. Some stuff I made were good enough as gifts, and if I blog about them, they will no longer be a surprise. So does that mean I'll only blog about lousy stuff unworthy of giving?
Nah... there are still many Good Things to be made not for gifting purposes, but just for learning new techniques and polishing skills.
However, this totally adorable thing below does not require much skill except handling the scissors. Simple but Nice.
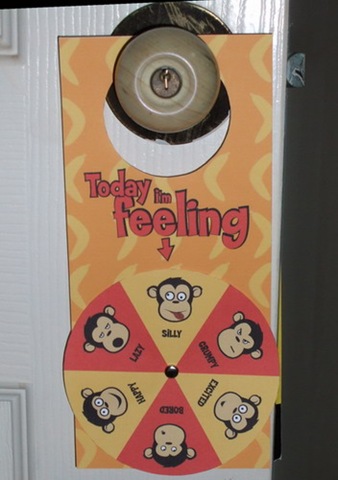
Changeable Monkey Moods Doorknob Hanger
*kiddie voice* I did it all by myself (with credits to HP) and it's MINE! :p
I've since rounded the edges, but I still badly want to laminate it. Is there any way of achieving that without involving laminating / heat-sealer machines yet not having to resort to inferior cellophane tape wrapping? Does spraying varnish or lacquer do the trick well?
Sigh.. so many questions, so little budget.
Btw, Happy April Fool's Day!!
On such a cool Saturday night, I wish I was on one of these instead of making a miniature one out of paper..
That said, it was quite a neat little project. I took the risk and used 200gsm card-stock instead of the usual 80gsm photocopy paper. The rigidity made the tabs a little harder to fold and glue into place, but the overall result was really solid and I am so proud of it!
Oh, and by the way, it rotates. :)
In chronological order:
1) Golddiggers by Maarten Janssens
Only upon completion of these cuties did I realise how appropriate they were as well, since this is the Year of the Rat!
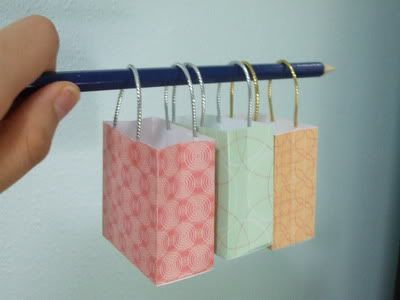
2) Mini Gift Bags by Martha Stewart (herself?)
Nothing extraordinary. Just couldn't resist the sweet colours of the templates! The actual title of the project was Miniature Valentine's Day Gift Bags, but I'm sure you can make use of these for any gift-giving occassion.
3) Cute Anime Schoolgirl (update: 5 Apr 2008: this awesome site has closed down!)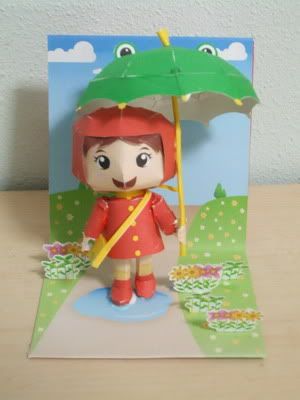
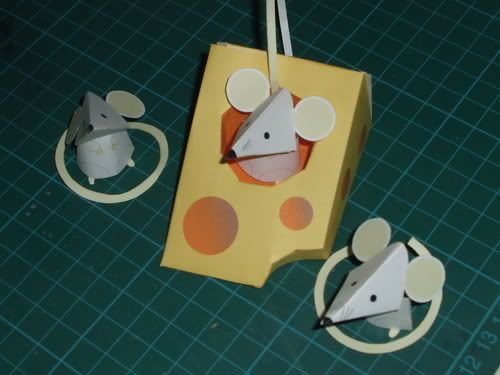

How small?

So cute huh? Well, I survived, and the end product turned out not bad at all, given my amateur skills. *grins*
4) HedKase Kid by Brian Castleforte

The following night I decided to go back to simpler projects so that I could do it while watching American Idol. NiceBunny has some really cool paper toys. I'm not such a fan of robots, cars and other 'macho' action characters, so I only picked the fun ones.
5) Sayuri by Nick Knite

Here's a cute one from the HedKase Artist Series. I also have a few other projects saved up to occupy me another day. But meanwhile I wanted to try some different things first.
6) Rockin' Rudy by Matt Hawkins

Quite easy to make, and oh so adorable, sitting with legs/hooves dangling from the edge of my shelf. His head nods if you poke it (gently!!).

Moved it to a less precarious spot - atop my pocket tissue dispenser!
7) Speakerdog Loves Stripes by Carolina Negret


Speakerdog is another site by very imaginative people who are generous enough to share lovely paper toys for free. Gotta give them props. Lots of it.
Pictured above is my first Speakerdog (from Series 2). They have so many gorgeous ones that you just can't help but make them all and start a collection. I know I would, when I have more storage space.
Yup, those are where all my nights for the past week have gone to, and it was well worth it. I have a shelf-top full of quaint paper things now.. :)
And that's a wrap!